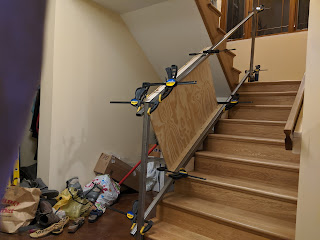
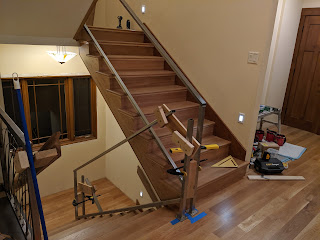
I made a wood jig to start out and help me keep everything in alignment and at the right heights. Here is the jig with the first set of railing frame blanks clamped in place for marking the angles and places to cut.
The jig is just a piece of plywood with an upper and lower guide that locates the handrail and bottom rail correctly. the end posts are set plumb in the correct spots and clamped to the rails to set everything up for marking.
The very top flight ends at a half-wall that required a bit of fancy footwork to maintain railing code...
And to make the returns where the railing comes back around to hit the next one in a continuous manner, I needed to get all sections set in place on the stairs but leave out one little piece at the top so I could cut the miters and loop it back around. Here are the 4 frame sets tacked-up and ready for the test fitting. The wood blocks are holding them in the right place to get this set up where the missing piece will go.
And then getting them fitted in place
And the returns tacked in place and the mounting bracket that attaches to the next section:
And making the panels. These are the panels that go into the railing frames (2 per run):
And finally got everything finished, ran through electropolishing and installed:


No comments:
Post a Comment