Wednesday, January 13, 2016

Radiant floor heat - Fall 2015

This is the last major project to catch everything up to date, as of now.  I am nearing the end of the kitchen island build, so that will come along soon, but probably won't be done until the end of Feb, 2016 or thereabouts.  The deeper you get into a house build, the slower things go as finish work takes a lot more time than rough work does, so the projects all get longer.

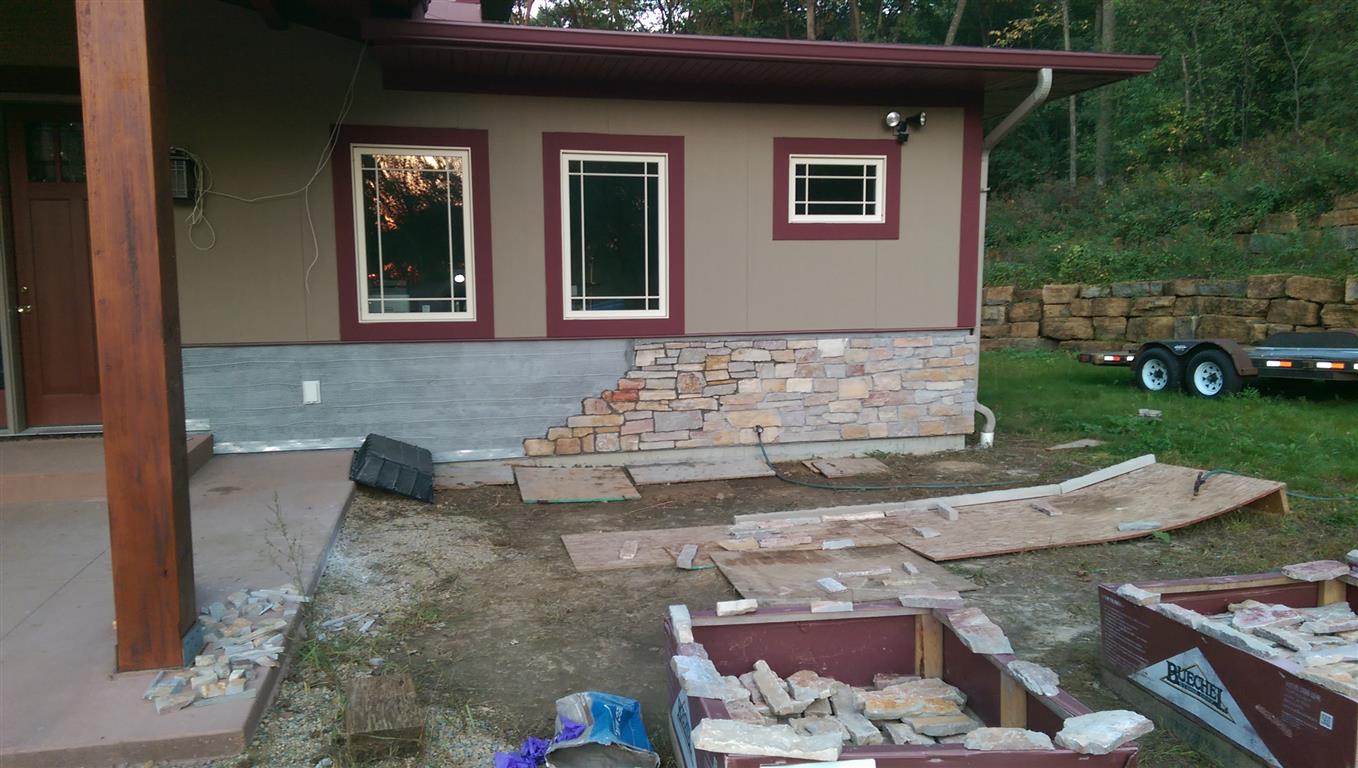
I started on this once it got too cold for the stone work to safely proceed further.  The one catch is that I kind of needed to get this all put together and up and running before things froze too much as you can't fill tubing that is already frozen (mainly applies to the garage only here) as it would flash freeze and cause all kinds of trouble.  Fortunately we had a mild fall into early winter so I did not end up having problems like that...I had other problems instead (more on that later).

So here is what we started with.  The tubing was cast into the basement slab for the lower level (house and garage).  For the main floor we laid down tubing between 2x4 sleepers laid flat, then filled in the space with concrete for thermal mass and to conduct the heat up to the second subfloor laid over the top of the concrete and sleepers.  The upper floor was stapled up below the subfloor since it was a small area.  You saw that work in earlier posts back in April & May 2014 (yes, it has been that long...You can look back to those posts if you like, so I won't cover it here).  You may also recall that I ruined the zone in the upper level bathroom with screws that were slightly too long for the tile substrate, so that one got cut off and abandoned, unfortunately.

All the tubing comes together in the basement utility room.  It looked like a total mess of spaghetti in there, and was actually a pain to work around as it was always in the way, and the orange PEX tubing is stiff enough to be hard to move around.


I had to sort out my zones and how I was going to approach this.  I ended up using a pair of pre-made manifold with flow meters on them so I could see the actual flow in each zone.  They were a bit pricey, but they saved a ton of space and time, and the ability to see the flow in each zone should help setup and troubleshooting down the road.  Once I figured out my plan, I made up pump assemblies for each zone.  There were 12 pumps total - mostly one per loop, but a couple zones have 2 loops in them and the garage and the great room on the main level have 4 loops.  I figured this would give me great flow in any circumstance as I had only 2 pumps in the shop - 1 running 4 loops, 1 running 5 loops (same length).   This also allows me to zone essentially every room or area individually.  I had pulled thermostat wires to each room during rough wiring the previous winter.

I soldered up the pump assemblies in the shop.  Lots of cutting, cleaning, fluxing, soldering of copper pipe and fittings, but here they are.

Then I started mounting them on the panel board in the utility room.  Here you can see the 2 manifolds I got mounted, along with most of the pumps.  The upper smaller manifold is for the great room.  The bigger one is essentially everything else.  The garage has a simple manifold out in the garage where the tubing goes into the slab.

Connecting up the great room zones.  The top manifold tube is the supply (red valve handle) and the lower is the return (blue valve handle).  They are snug, but work well and save a lot of space, which I needed.

You can see the rest of the main plumbing coming into the manifolds here too.

And mostly all connected up.  Looks a whole lot neater now, doesn't it?  Still need to do control wiring and the supply tubes on the lower manifold plus the returns for the lower level slab.


Here is everything all connected:

You can see the runs straight down to the floor for the lower level manifold.  You can see the 2 water heaters on the wall at the far left (beige boxes).  The one half out of the frame is for domestic hot water, and the one to the right of that is for the radiant:
 Another shot:
The iron pipe with the yellow valves is the natural gas manifold for all the appliances, intermixed with the radiant stuff:

And the controls and wiring.  The two green things with all the wiring going into them are the zone controllers.  Thermostat wires come in the top, pumps control wires go out the bottom.  When a thermostat calls for heat, that zone pump kicks on and starts the fluid flowing which kicks on the heater until the thermostat is satisfied and turns off.

So after getting everything connected, it was time to pressure test the system with compressed air.  This way if there are any leaks, you can fix them much more easily than you can when there is water in the system.  Pumped it up and found 2 solder joints that had a small leak, so I fixed those up quick, and found another one where I had mixed up tubes and had to cut a couple connections and redo them, but then I could not get it to hold pressure and I had checked all possible joints, multiple times.  So I started isolating zones by valve one at a time until I found the culprit - the Master Bedroom zone had a leak somewhere in the tubing.  I traced it as best I could but it appears to be in the tubing up in the floor somewhere.  No idea how that is possible as it is encased in concrete and was pressurized during the concrete pour to make sure it was good - and it was.  Just like the upper level bathroom, there was nothing I could do, so I had to abandon the zone.  At least it is a room you want to be a bit cooler...  Once I disconnected that and capped the feeds, it finally held pressure.  Yipee!  So I started filling it with water and purging it of air...and found another leak.  More of a pain to fix now with water in the system, but not too bad as I had isolated everything with so many valves that I didn't have to drain out a ton of water - just a little bit.  Got that finally fixed and all was good and holding pressure with plain water.  Woo hoo!

Now I learned from the shop that I need to add antifreeze for corrosion protection, plus it is a good idea in case the system has a malfunction/power outage in the winter or it just isn't turned on for some reason and it gets really cold.  So I did that at this point, now that I had established it was holding pressure with just water in the system...and I found ANOTHER solder joint leak!  Similar to fix as last time, but annoying.  Fortunately that was the last one and it has held pressure ever since.

So... All ready to go, right?  Sure, just light it up!  I start it up and turn on some thermostats, and I am getting very low flow - too little to trigger the on-demand water heater.  I was very flummoxed at this point, as I had clearly purged out air quite well and with a pump on nearly every loop, this should have worked easily.  Mind you I did not run any loop pressure drop calculations as I figured this was overkill.  After some investigation what I think is going on is that the water heater is a super high efficiency unit (much more than the one in the shop) and I think that means it is higher pressure drop (harder to push water through), so I am not getting enough flow with the small circulator pumps on the zones.  I came up with a solution but have not yet implemented it as I am working on the Kitchen Island now.  It took a bunch of searching and reading to sort this out, and I needed to make progress on something, so I shifted to the island while researching the problem.  I am going to add one slightly larger booster pump on the pipe going into the heater which will come on when any other zone comes on.  That should be sufficient flow to kick the heater on plus improve the flow through each zone.  I have all the parts on hand, but need to find the time to do this.  And it will be a mess with the system filled with water and antifreeze. I will get back to it after the island is in, probably by March as I want to make sure it works for at least a bit this heating season to be sure.  As a result of this we have been using the forced-air furnace again this year for heat - plus the wood stove on the main level.  The lower level has gotten to be quite cold as a result (low 60's most of the time), so I really need to get the radiant in place. Haven't even finished everything yet and I have to fix stuff...  Sheesh.

------------------

So that is all for now (Jan 14 2016).  I'm wrapping up a few key things now as Island install is coming up this weekend, and then there is a bunch of work to do in the following 9 days to get everything ready for the granite folks to measure for the countertops on Jan 25.  Several things need to be dealt with after the cabinets are roughly installed, so I left some time for that work.  Then I have about another 10 days until they come back to install the counters.  There will still be a lot of work left after that, but we will have a mostly functional kitchen (once I get the island plumbing and wiring connected).  I should have a major update post from the kitchen sometime in March, I expect...time permitting...


Monday, January 11, 2016

Exterior Stone - Summer/Fall 2015

As always, the newest stuff is on top, so if you are new to this, or it has been a while, start from the bottom and work your way up for the chronology.

The last big item I tried to wrap up in 2015 was the exterior stone.  I made decent progress, but started too late due to many other circumstances so I did not finish before it started getting too cold. Since this really needs 28 days to cure before a real freeze, I had to quit early enough to avoid that.  Fortunately it was a very mild fall, so I ran until late October.  This was later than I thought I would go, but the weather held out, so I got a bit lucky. As for completion, I got the small area on the shop done first (my test section).  I got a decent start on the front of the house, and then finished off the chimney, as I was most worried about that going another winter unprotected.  The chimney had a lot of corners, of course, and all the ladder time and hauling everything up there cost more time, so that was slow, but it is done.  Next spring/early summer it is priority #1 to get the house exterior wrapped up.  That entails finishing off the front of the house, then the garage side.  It will probably take a couple months, but at least I will have daylight to work with.  Working into the late fall, I was racing to get much done after work before it got too dark.

You saw this already, but it shows the prep for the stone work.  This is 2 layers of tar paper over the Tyvek barrier base.  There is also a vented cladding over the top of this to help any water that gets behind the stone to run down and out.


And here is the stone work on the shop completed, and then completed with the cap blocks in place.  Propped up with 2x4s at the time to make sure they stay put as they cure, but you get the idea...


I started on the scratch coat on the house front.  The gray stuff on the right is mortar for the scratch coat.  The blue stuff towards the left is the vented cladding, not yet covered by scratch coat (over the tar paper that you can no longer see).  This is where I ran out of that batch of mortar.

Finished up the scratch coat and got a good start on the stone.


This was towards the end.  I think it was the 2nd or 3rd last night I did stone work.

This was as far as I got for the year:

And the very last thing was the cap blocks in this area:

But I am mixing the order. In the middle of this, I started on the chimney to get that wrapped up before it turned cold.  I had done some of the front wall, when I shifted to the chimney.

Got the base all prepped (tar paper, vented cladding, metal lath), and the scratch coat on the lower section here.  The adjustable ladder was key for getting any of this done on the angled roof:


Laying out stones on the roof to pick from.  No particular order, just enough room to reach stuff.  I hauled stones up in a pair of 5 gal buckets at a time.  Yes they are heavy.

A good start for the first day or two. (I forget)


More progress.


Moving into the upper section.  This whole thing had tons of corners, of course, so that took a lot of time and extra material for corner blocks:


Upper section nearly done.  We had some freezing weather in between this, so I had to tarp over the whole thing to keep it from freezing, which was interesting to do up on the roof...

And finally all complete:


After I finished this, I went back to the front wall to wrap that up as best I could (pictures above for how far I got).  The one big remaining thing was that I had not covered the garage wall yet with anything.  Given that the Tyvek was exposed for 2 years (not good) I needed to get that covered before winter.  I put up the 2 layers of tar paper, the vented cladding, metal lath, and then got the scratch coat done as the very last thing before it got too cold.  At least we are stable now for the winter, and it can get wrapped up next spring when it clears up.  Technically, my exterior is now "finished" as I can say it is "stucco" so that keeps the inspector off my back.
Yes, given the time of year, it was dark when I wrapped it up.  Fortunately the weather held for a couple weeks so it could cure decently.  This at least gets us stable on the exterior, and I can safely wrap it up next spring/summer.  It was definitely getting sketchy there towards the end on temps, but the El Nino saved us this year.  It was really warm through the end of Dec.

This gets us up to about a couple months after we moved in - Late Oct/15.  We moved in Aug 15 , 2015.  While it is definitely easier dealing with one house, at this point, we still had a lot of things undone that were making the "residents" cranky...  There's only so much Dave to go around... I do what is most critical right now...but we are in OK shape at this point.

So when the weather breaks in the spring and the ground firms up, I will focus on finishing off the stone work first.  This will be like late May/early June, at best.  For the winter I used the tractor to put the pallets of stone up and out of the way for snow plowing.

After this, I turned my attention to getting the radiant floor heat going for the winter before it got too cold and things froze up on me (can't fill radiant with water (step 1 after making connections) if it the tubing is below freezing as it will freeze in the tubing).  I'm actually getting very close to being caught up in time now.  The later you get in the process, the slower things go, as finish work is much slower than rough work,  The finer detail of finish work requires more attention, basically.  After radiant, I went on to the kitchen island, which is what I am wrapping up now (mid Jan 2016).  So we are close to caught up, though as I noted, the volume of progress slows waaaay down as the project progresses.  A little more to follow before I am completely caught up...

Friday, January 1, 2016

Fireplace - Summer 2015

The fireplace had been a long time coming.  We weren't sure it was going to go in right away as it was very expensive and financing wasn't always a settled item...  But it did work out and after a loooong order time, it finally arrived and the installers started just before July 4th 2015.  Then the weather hit.  They were expecting a 2-3 day install time as these fireplaces come from Finland as a kit so it becomes an assembly project for them, mostly.  They lost some time on the bench as it took extra time to make that fit, and the edges needed to be polished on site.  So it took them a bit longer.  The weather was an extreme event.  In the middle of their install, we got something like 7-9" of rain in a couple hours.  One of those biblical storms.  I knew we got a lot of rain but I drove down to see what the driveway was like after that (still at the old house), as it washes out a lot right now.  When I drove past the big hill on the other side of our valley, there was a waterfall coming out of it with a torrent of the sandy soil washing away like crazy.  Uh oh...  when I got to our place the driveway was a total washout.  I did not try to go up it as the ruts were deeper than my car tires.  I came back after work with the truck and was able to slowly make it up in 4wd, but it was really rough.  The crew had managed to make it up the driveway, slowly, but it was a short day as a result of the mess.  I spent the night fixing the driveway to get it passable again.  Did I mention Mother Nature hates me?

Here is the only real shot I have of the partially completed fireplace.  We did a stop action video of it, but that is still sitting in raw form and has a lot of work left to get it into showable form.  I'll post that too, once it gets done and I can find a way to do it.


And here it is all done.


Kitchen & lights - getting it usable - Summer 2015

We moved the kitchen cabinets out of storage just before winter got ugly in the fall (2014).  They mostly sat in a jumble in the shop until I got to that point.  The big push started around the time of the final inspection.  One of the point the inspector made was needing a fridge and oven, along with the sink to pass final.  So in the April/May time frame we ordered the kitchen appliances to get them in place and make the inspector happy, even though the kitchen was not going to be ready at this point.  They came in and I had the delivery guys place them in approximate locations so I could get them connected (for about 5 minutes) to pass inspection.  Once that was done, focus turned to getting the wall cabinets done (lowers and uppers).  I had built the base out of basic LVL lumber in place in the house, so everything fit perfectly.  This worked out well.  I was thinking of gluing up plywood to make a thicker base, but Brook suggested just ripping down an LVL beam, which is basically thick plywood (1.75").  That was perfect as it is solid and stable material, not real expensive and easy to get.  I had made all the cabinets with flat bottoms so the plan was to make separate bases, level up the base and then mount cabinets to the base.  This worked out well.  I don't have a lot of photos of this process (was going nutz at this point to get the house livable), but you can see the base from the greenish colored LVL here pulled away from the wall.


After the appliances got delivered and I hooked them up for "final"


Using the base from the house back in the shop to make it all work


Here is cabinet install.  This is the rough work that was needed for granite measurement and to get the place working to live there.:

A couple weeks later we got the oven put in place.  That is heavy (400+ lbs) so it took 3 guys to do it without destroying anything.  You can see the oven sitting in the door to the pantry on the far left.


And the final product, with granite installed, but still needing the front panels on the fridge, a case to cover the vent hood, and a whole lotta trim, backsplash, etc:
We also looked at it after this stage and said it did not look balanced around the window.  It needed another upper cabinet.  So that cabinet to the left of the vent hood is going to move over to the left to the wall by the window, and a new, slightly wider cabinet will be put up in place of it.  This work will be happening along with the island build.


A week or so after we moved in, the granite folks came to measure, as they only work off of actual installed cabinetry, and then they installed about 2 weeks later.  We were lucky in getting moved up on their schedule as they had originally said we would be over a month out.  I learned from this that when I do future work, to schedule them ahead of time more so we can get it banged out quicker.  I am using that knowledge on the island...  We are scheduled for granite measurement 1/25/16 and then install about a week later on 2/3.  Hopefully all dates hold, and it looks OK so far.  So far...

Did a bunch of the final lights in a weekend in early summer too.  I didn't take photos of many lights. Here is a shot of the shop as an example (before stone work):