Monday, November 4, 2019

Interior finished stairs - Summer/Fall 2019

This is what I consider to be the last of the really big sub-projects.  There are still several significant woodworking projects like the built-ins for the master closet and mud room, but they are not of the same magnitude as this one.  Finished stairs are very complex and detail oriented and can take a ton of time as this case involves a bunch of woodworking for the treads and trim work, and then a bunch of metal working for the railings.

I have already got a start on it as I ordered stair parts in late June and began prepping the rough stairs for finish.  I have a friend who did high end stair work professionally for a number of years and is now a general contractor, so I asked him over for some beer in exchange for advice.  Very worth the time, and a nice opportunity to shoot the bull as well...

So to sort this out better, I created a rough CAD model in my spare time.  Here is an overview of the stairs, with only the upper sections fully drawn.  I didn't bother with the lower sections as they are basically the same.  I also didn't try to put in the "grass" that will be in the panels as it wasn't worth the time in CAD. I just wanted to see how it would lay out and where to put break points, etc.


One of the first things discussed was that I needed an additional guard railing behind the fireplace as the space was over part of the stairs and still accessible somewhat.  See below.


So the plan is to add a short section of railing to guard that area like the outline shown below, behind the big brown block that represents the fireplace. Just a simple straight section about 3-1/2' long.


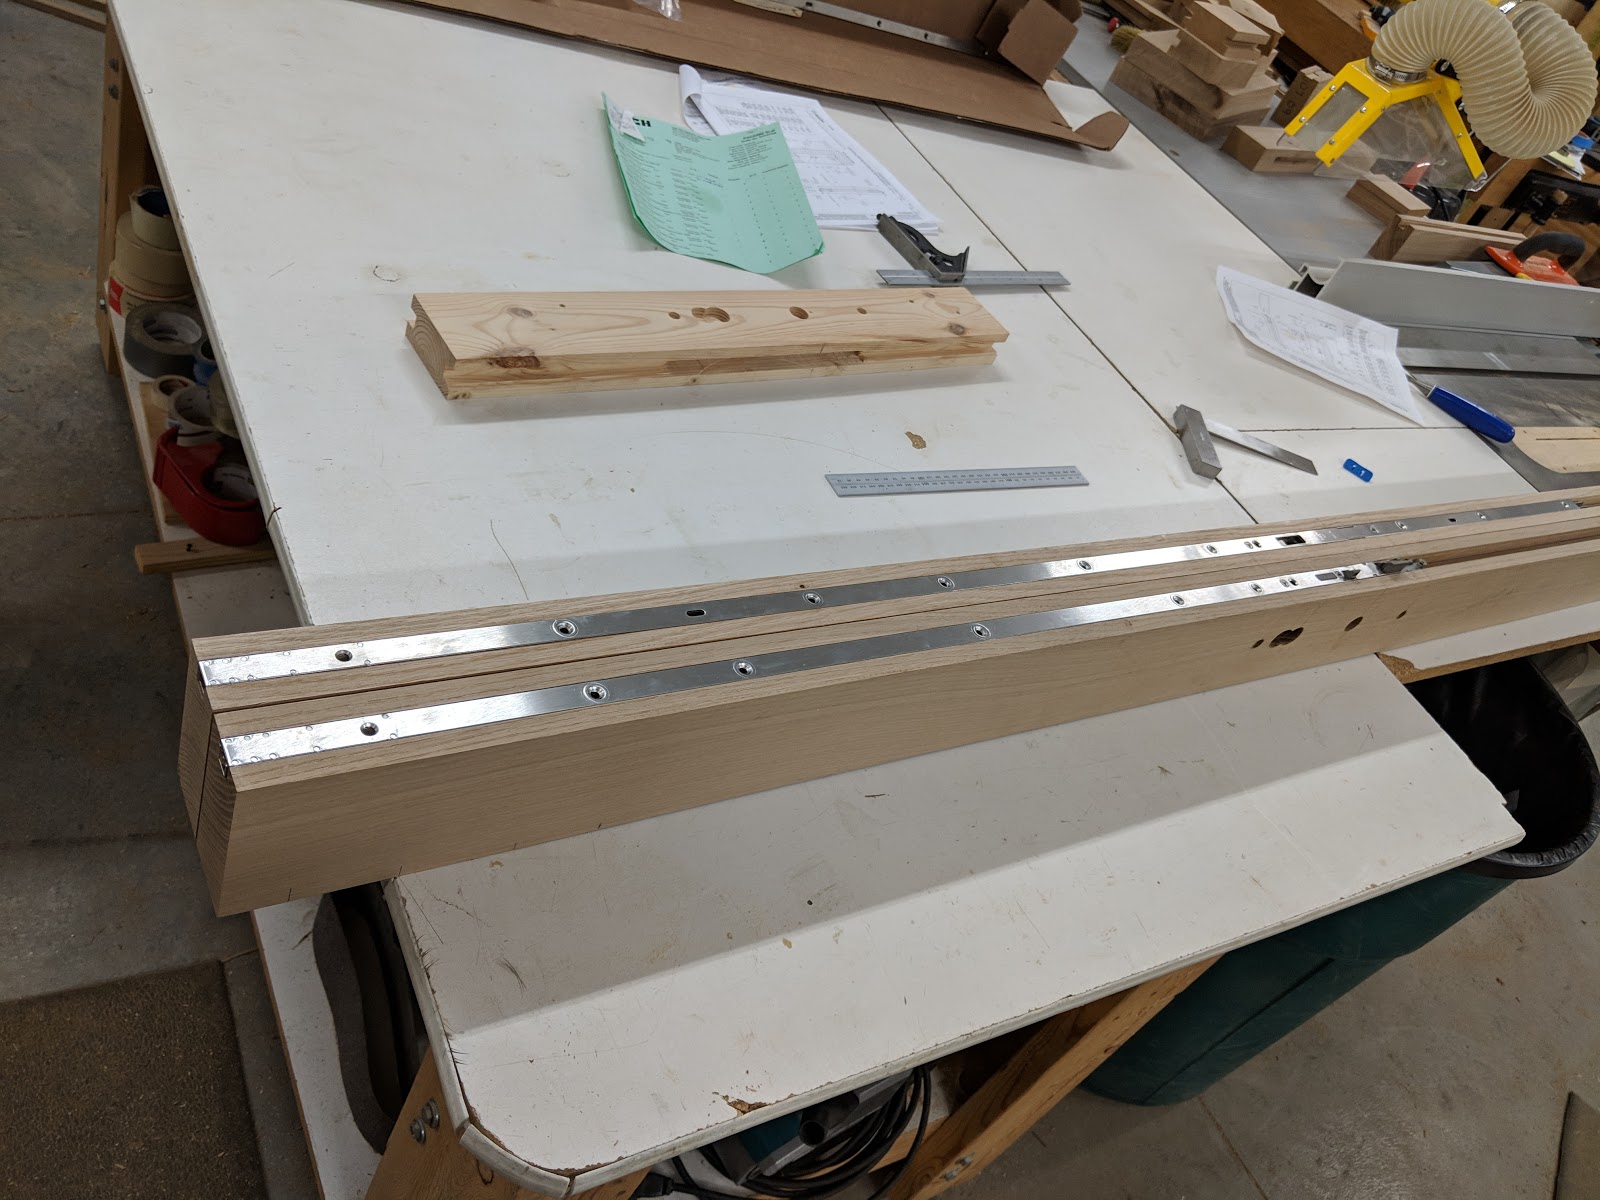
So I got started on that while waiting for stair parts.  The first thing I realized was that I really need the feet where the railings mount to the stairs first. With things like this, it generally makes the most sense to batch them all together at once.  I counted up 15, so I made 16 to have a spare.  I set up and cut parts, then drilled holes, countersunk for the screw heads and then deburred the backsides, so those are ready to go.  Should be no need to set that back up again.  Now I can focus on making railing frames.

Got that one section made and installed behind the fireplace.  This way I could move the handrail over to that side to have something to grab onto temporarily while working on the stairs.  I just clamped some wood blocks around it with screws at the top.  Very solid


So let's make some stairs!  I started with the lower level set as there is outside access on both levels, making it less painful to get around the construction.  First stop - the skirt boards (wide trim pieces) on the "closed" side of the stairs - the part against the drywall.  This board gets pre-finished after it is cut and fitted before installation.  You can see where I pulled out the temporary treads for clearance here.


Next step - the "open" skirt board and then risers (the vertical parts).  The open riser is the single most complex part of the whole stair assembly as it needs to be mitered for each riser, and they all have to match up perfectly.  Below you see the open skirt in place and all the risers set.  The treads you see are still temporary just to allow places to stand/sit to work on it.


Starting work on the finished treads.  The treads come with the return molding already installed from the shop.  Those are the moldings/nosings that wrap around the edge of the open skirt board

And the first flight all completed and glued/screwed in.

Since every flight goes about the same, I won't duplicate them all, but the next one had one big complication in that the open skirt board had to also cover this big triangle in the stair framing. this required a challenging glue-up of extra wood onto the skirt.


And the first 2 flights completed.  The next 3 photos show views of that, after finish is done.  Very hard to get good shots of something like this as the space to take a photo is so constrained that it is hard to see it like you can in person.


Next, I worked on the upper 2 flights, once our daughter was back at college (her BR is upstairs, and this is the only access).  It would have been best to start from the top as gravity tends to ruin things below you that you have already finished, but that was not workable here, so I just need to be extra careful working on the upper flights.

It took 12 weeks total, start to finish, but all the woodwork for the stairs is now done.  I won't deal with touching up paint or anything else until the railings are all complete and I am done banging into things.  Here's a couple shots of the upper flights, which are the ones you will see all the time.  Railings will be covered in the next post.


Sunday, July 14, 2019

Spring and summer 2019 - finishing screen porches

I kind of have two things going on at once this warm season.  I'm wrapping up the screen porch and screened balcony from last fall and also starting in on the the finished stairs (separate post).  The finished stairs are a big project.  But getting the screen porches finished is another big milestone in making the house more livable.

So I started this year by making the frames for the upper screens.  Last year, I finished off all the main railings which was the far more time-consuming part, but was unable to get the whole thing wrapped up due it getting to be late in the year and the weather turned winter pretty early this time.  Well the frames for the upper screens are very simple.  There is no "grass" that needs to be done in the field of the panel, so it is really just a frame from angle iron.  I had all the stock prepped from last year, so it was really just measuring for each frame, doing final cutting, and welding them together.  It only took a week or two in reality (with other distractions in there of course).  Then I took them in for electropolishing and they turned them around very fast - 2 days.  So final install of those is now complete.  Pics below.  Now we just need screens...


They really don't look like much from the inside as they are just frames around the opening.  Here is a close-up so you can see the frame on top of the cap rail of the lower railings, perhaps... Lots of touch up paint TBD...


So the next big step is screens.  I was originally thinking about making my own screens, but this is a task best suited to someone already set up for it, so I am going to farm out the screens.  I am currently in the process of getting some contractors to visit the site and quote the project.  It looks lke there are several outfits in the region that do this as their primary job, so hopefully it will work out.  Drilling into Stainless Steel is not easy, so I am glad to farm that out...

More to come this summer...

Friday, June 28, 2019

Winter '18- Spring'19 - Doors and entertainment center

I had a set of double doors to do for the entry into the Master Suite and they were quite complex.  It was way more than 2x the work of a single door to get everything to match up, plus the hardware for this door was very complex.  It uses a multi-point latching setup like a set of French Doors to allow both panels to be easily usable as the individual doors are only slightly over 2' wide each, so there is a frequent need to open both doors when carrying things, for example.  The multi point latch has strikes in the header jamb above the door and inset into the wood floor below the door so the "free" panel can be latched to the frame and floor and the "active" panel can latch to the free panel.

This pair of doors took me close to 3 months, nights and weekends, of course.  One single door can be done in 2-4 weeks depending on other things going on, for comparison.

Here are the doors in process being dry fitted ion the shop before final finish (the panels are pre-finished before glue-up)

And the initial installation:


And 2 shots of the final installation with trim in place:


I mentioned the hardware.  Here are a couple shots of prepping that and getting it in place in the door frame.  Expensive too - the hardware alone for this one door was over $700, but that is what is takes for a special situation like this.


I wanted to get a few doors done this winter, but the double doors took so long I only got one more done - the Master bath main door:


After that, there were several smaller things including some shop projects and then i did the entertainment center.  Now you have to realize we had not invested anything in a a new TV since, ooohhhh... 1997...so here is the 32" TUBE TV in all it's glory....

Before I started.  you can see the drawers are underway back under the stone bench, but I had not done too much yet.


...And in it's final resting place at the recycle center.  Yes, we were that far behind on TV technology, but it wasn't used a lot, so didn't phase us much...


And the new setup.  The 65" flat screen is on a swivel mount so it can swing out and be tilted any which way.  We have it tilted down slightly as it is mounted a bit higher than seated eye level.  I built a shelf above the stone bench to help define the space a bit and some drawers below for storage of discs and such.  The subwoofer is under there too, on the right.  Our former neighbor Ron is an A/V guy who does a lot of high end houses, and he set us up with all this.  Nice to have someone who knows this stuff helping out.  Click on image for a larger view, as always.


And that was it for the winter and spring.  The double doors really killed me for time.  After the entertainment center, I started on wrapping up the screen porches from last fall.  That is well underway as of this date (6/28/19) and I am starting to look for contractors to make the screens now.  After that is another huge project that is getting going - the finished stairs!