Friday, August 30, 2013

House foundation

Next up was getting the foundation poured.  The plan is essentially half walk-out, half foundation, so there was one main wall section and then the other half was all frost footings (4' below grade).  We start with footings.  Here are the footing forms.  We used Form-a-drain forms for the foundation wall so that the footing drains would be built right into the footings.  I like this system.  The frost walls don't require this, so they just formed them with 2x8's.  The gray stuff is the Form-a-drain.  It is an extruded box tube with slots on the outside to let any water drain in so it can be piped or pumped away.


Pouring the footings with the concrete pump truck

They cut a keyway into the footings to help stabilize the bottom of the foundation walls (so it ties into the footing better.

Then it is foundation time.  We are doing poured walls, so the form trucks showed up over a few days and kept coming (or so it seemed).

 All formed up and pouring the walls


And the final result with the walls braces installed (so they can backfill at least partially before everything is complete.)  These are panorama shots, so they will be a lot easier to see if you click on them.


Saturday, August 24, 2013

House excavation

I've been spending most of my time on the shop so far.  The plan has been to get the shop up first as it is simpler and then I have space to work to help move the house along, so the house has been running second banana so far...but it's time has come!  Everything has been delayed (story of all projects), but I was able to get things scheduled for excavation and foundation in Mid-late July.  Here are some shots of the excavation going on.

This view is from the higher ground looking down into the hole.  We used a laser to carefully measure and set out the pad height and then had the excavator dig to make a flat pad at that level. 

After that, since some of the walls are walkouts, there need to be "frost footings" or basically 4' walls that are set below the frost depth for the walkout sections.  Below is dugout for those after the pad was flattened out to the correct level


And here is the hole all completed nd ready for the concrete guys.

Thursday, August 15, 2013

Shop build - SIPs walls and other framing

As previously stated we are using SIPs for the walls.  These are prefab panels that are made with a skin of OSB on either side of a block of foam, all glued together.  It is actually a very strong structure (much more than regular framing) and is very airtight and highly insulated.  If you are curious to learn more, you can look here: http://www.sips.org/

I hired a local builder, Roger, who is very big into high efficiency houses and who uses SIPs all the time to handle the main framing work.  They started on July 8, and after Day 1 of getting set up and going they had this much of the walls raised:


After Day 3, they were done with outer walls :


Then they did roof trusses in 2 or 3 days:

And then, after laying down the roof sheathing too (no pic), I got a roofing crew to bang out the roof in a day:


I don't have any good pics of the final roof, but it came out nice.

Then we finally had a dry place to work inside!

Before the roof went on I installed the meter socket and main panel to try and get electrical service going, but the utility was long on promises and poor on delivering.  It took them 2 weeks for something they kept telling me "tomorrow" on.  The best part was when the crew finally showed up, barely worked, stood around gabbing half the day and had to come back the next day.  Then they sat in their trucks and took naps before starting on the second day!  What a work ethic...


Due to the distance from the road, they had to add a transformer close to the shop (when they finally showed up and did something...)

I also had Roger do the soffit and fascia and Tyvek, as those jobs really take more than one person to do reasonably.  Here is the soffit color - a dark maroon called Brandywine.


And you can see the waterproofing on the uphill wall that will be slightly buried with dirt, once backfilling is complete.  The structure was designed for this.

No pictures of electric work that I did (not much to see of it either), but here is putting up the vapor barrier prior to starting drywall (this was just last weekend -  Aug 11 2013)


And the garage doors just got installed today too (8/15/13)

Drywall will be starting on the shop this weekend, and the house is starting to progress also, which I will cover separately.  More to come on the shop as it progresses over the next few weeks too.


Shop build - prep and slab

The shop building is separate and a pretty simple structure - just a basic rectangle 32'x80' divided into 2 sections 30' & 50' long.  The front section is shorter and is garage space for working on cars and the tractor.  The rear section is the wood shop.  The plan is to build this first so I have a place to store stuff and work on things for the house.  There were a lot of delays starting including permits and getting the materials in place.  Weather in May and June was also horrible and caused a lot of delays.  We are using Structural Insulated Panels or SIPs for all the walls and they require more engineering up front than regular framed walls, but then go up really fast. 

The excavator did the main roughing out of the pad and then I did the final grading with the tractor.  The foundation is a floating slab, but built with insulation to protect it from frost heaves.  This type of foundation is called a "Frost protected shallow foundation" and there are design specs available for various climate regions.  So here are the pics of the slab prep and build...

Pad with the center trench for a footing for the dividing wall and ready to start setting foam (starting around June 18 2013)

The rear half foam completed by me and my daughter in a couple hours:

Front half completed next.  Weights are to keep it from blowing away


After completing the perimeter foam, we added wire mesh reinforcement and then laid out radiant tubing for in-floor heat:


Here the forms are set for the slab pour


And these next photos are of the pour - 75 yds of concrete and a pumper truck to place it:


Here they are power troweling the pad.  This thing looks like a hoot to drive!


 Finished slab.  It was a hot day and there is a lot of concrete and insulation, so the heat generated was contained so it cured pretty fast.

Next up, the shop build...

Tuesday, August 6, 2013

Working ahead - making kitchen cabinets

I get a lot of strange looks when I tell people I have already made the cabinets for the kitchen of the house that does not yet exist.  Questions are usually about how you can do that ahead of time without having the final space to measure.  Well, Knowing I would not have enough time to make cabinets after the house was built, I did a few things in the house design to help allow me to build ahead.  The biggest items were limiting fixed reference points and building in adjustability.  For example, the main wall cabinet run has only one fixed wall at one end that it butts against, so the other end was left free floating so it does not matter if things are off 1/4" or even 6" for that matter.  The 45 deg sink cabinet is shorter than the 45 deg wall and will use fill plates to make up the space with the cabinets next to it to allow adjustabiliy.  And the island is free floating, of course, so it has room to adjust as needed.

One thing to keep in mind as you look at these photos, is that these are only the "guts" of the cabinets.  I only made the structural boxes and drawer cases ahead of time.  This will all get covered with a continuous finished front after installation.  That part will be made to fit at that time.  SO... if you think these do not look all that great, the fact is they don't, and they shouldn't. This is all the hidden stuff, but it saved a ton of time to do it ahead of time.  Time I will not have when the rest of the house needs to be worked on.

I made these in batches that I could fit in my shop and finish all at once.  Here is one batch in finishing:


 I also made a large pull out drawer for the island that has a 4-bin recycling center.  Here is the drawer unit with bins. It goes into that large case that is 2nd from the right in the above photo.  It required some massive heavy drawer slides.


The island will have cabinets on the inside that are curved fronts. Most of the times I see curves done by just placing a few straight lines along a curve to approximate a curve.  The reason that is done is that curves are very time consuming to make.  Here are a few shots of the 2 cured front cabinets I made for the island

This is the glue-up form for the drawer front


Starting to clamp down the laminates I used.  These are glued up from several thin layers of resawn ash  to allow them to bend and conform.  Epoxy glue holds the layers together after curing.


Now you see what all the holes are for...

Finished product.  2 assymentric curved front cabinets that are symmetric when put together.  This took several weeks to make the parts, dovetail the drawers (very complicated on a curve) and glue-up.  Remember to click on these to get larger images to see details


In then end I completed probably 80% of the case work for the kitchen ahead of time.  There is more to do, including the finished fronts, of course, but this will save a lot of time during the house build.

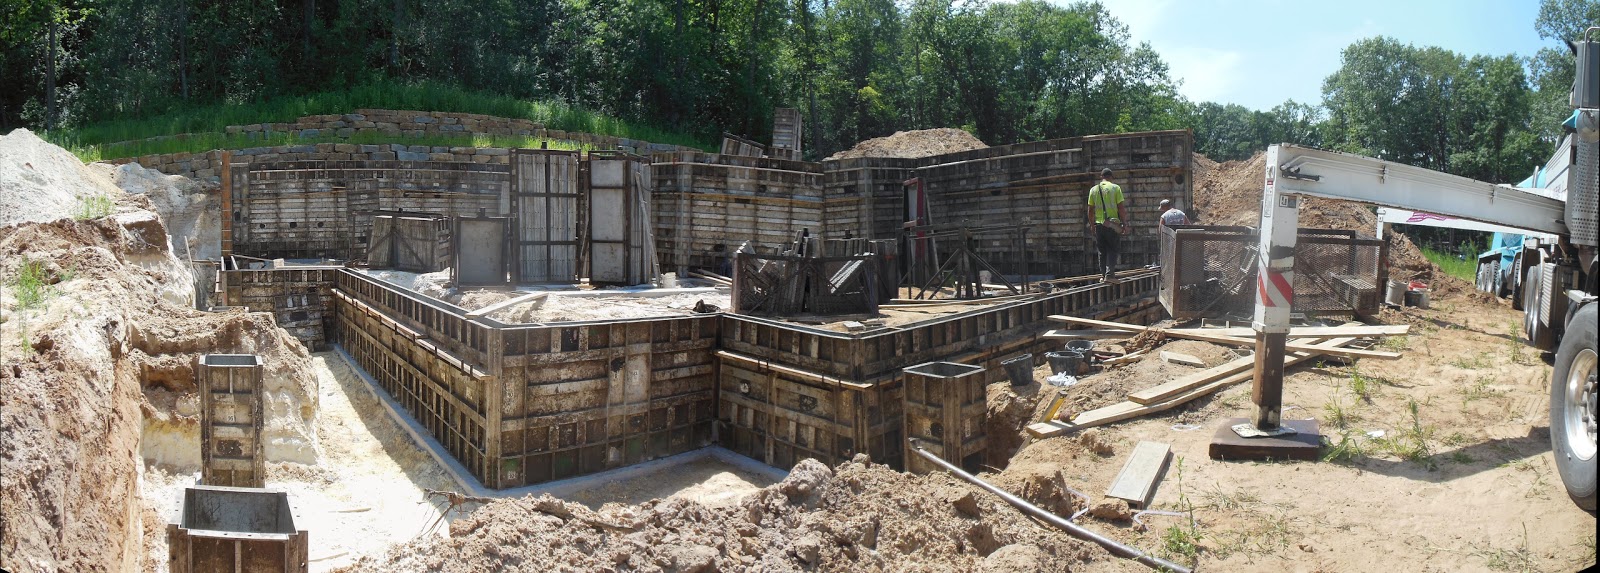
That's about it for all of the prep work and background.  We've been working on this and planning for a number of years.  For example the cabinets were built over the space of 1.5-2 yrs, the land clearing took 2.5 yrs, and the prep work for building the large retaining wall was much of a summer and fall.

From here forward I will get into the actual house build that started in June 2013.  I am hoping to catch up on these posts so I can post brief updates with a couple pictures more frequently that don't take so much time to pull together.

Next post will be the start of the shop build!